This is another one of those “cooking without a recipe” posts that hopefully will help you deal with the bounty of summer fruit that is headed our way. This spring/summer has seen pretty perfect fruit-ripening weather here in BC, and it looks like we are in for a bumper crop of ALL the fruits! starting with strawberries, but continuing all summer long with cherries, apricots, peaches, and all the other berries.
And sometimes, when the fruit is sooo perfect, it needs very little fussing about in order to capture all its glorious flavour and aroma! Old school European preserves fit the bill perfectly here
Our pantry is woefully lacking in jams at the moment, as Jeffrey pointed out a couple of weeks ago with a frown when rummaging about for something to put on his toast. So I guess this summer will involve more “putting up” fruit than I had originally intended.
If you plan to make preserves and jams and process the jars for storage on your pantry shelf, it does take a bit of planning to get things set up, but once its done there is NOTHING like opening a jar of something in the dead of winter that tastes like summer (remember that scene in Soylent Green, where he gets to take the spoon from the strawberry jam home?!)
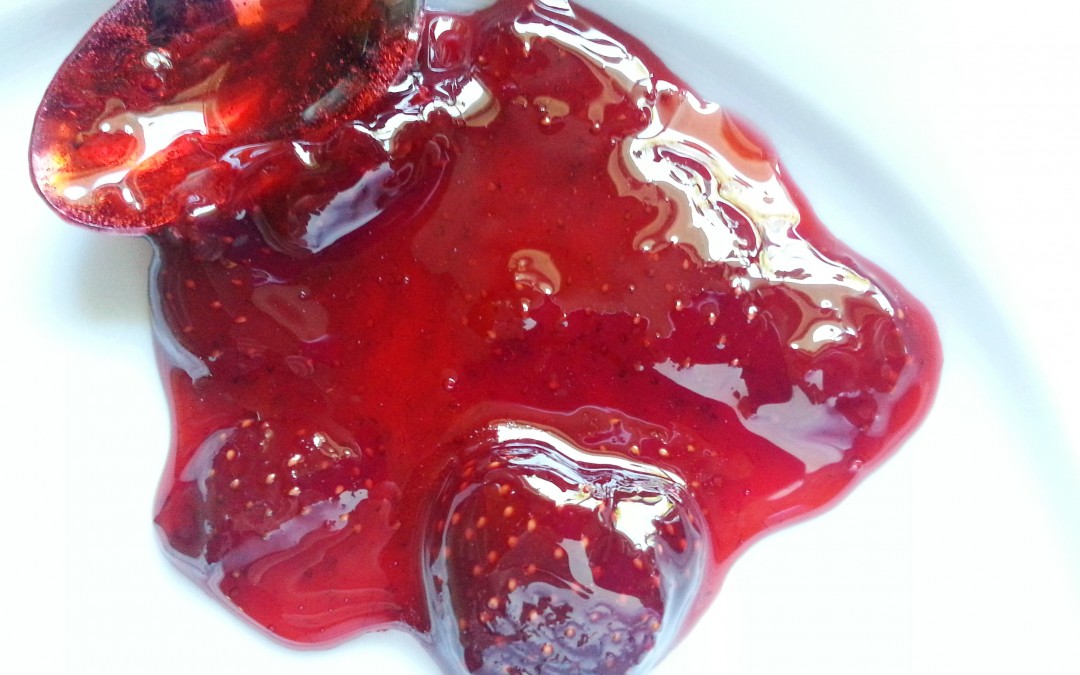
This recipe-less recipe is for classic French-style strawberry preserves – which means the fruit is whole, suspended in a thick syrup. It’s a soft preserve rather than the heavily pectin-ed stuff you’ll find at the supermarket, and meant to be spooned onto scones, toast (or directly into one’s mouth ;)). We do make jams using mashed fruits and pectin (I prefer the texture of Pomona’s Pectin for those), but classic French style preserves are something extra special indeed!
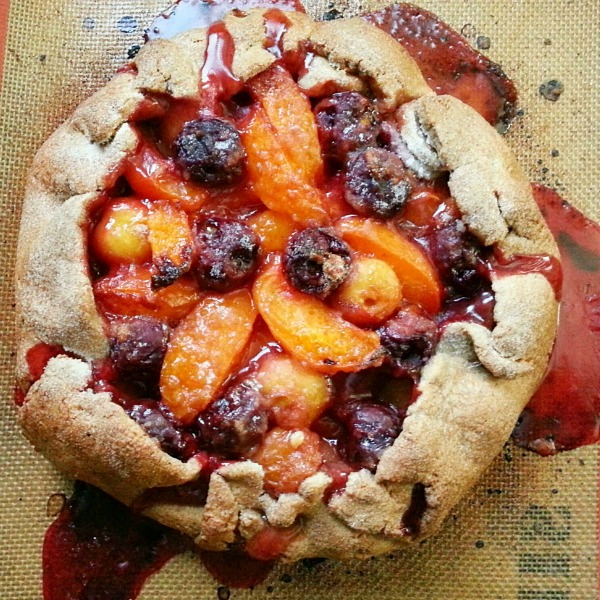
This general method works with all manner of soft fruits – smaller fruits such as strawberries and cherries are left whole, larger fruits such as apricots or peaches can be cut into chunks. Because this method is done by weight, you can also take advantage of small harvests, to make impromptu batches of jams (and that means you can experiment with adding extra pops of flavour if you’re so inclined – a little lavender with your strawberries? a little coriander and allspice with your cherries? go for it!).
Before we get into it, a couple of points to remember:
- You may be tempted to skimp on the sugar – DON’T. For this type of preserve, the sugar is critical to getting your preserves to set, but more importantly, it helps prevent spoilage if you plan to keep them to use through the winter.
- Macerating the fruit in the sugar overnight may seem like a tedious, time consuming step, but it is an important step – don’t skip it! It serves 2 functions in this kind of jam – it helps extract the juices from the fruit, so they can be cooked to the “set” point separately (this helps with the texture of the syrup the fruit is suspended in), and second it impregnates the fruit with sugar, which helps each fruit retain its shape and texture even when cooked – without this step, the fruit will break apart as it cooks.
METHOD for preserves:
(for most fruits, a 1 quart basket will yield approx. 1 litre, or 4 250 ml jars of preserves)
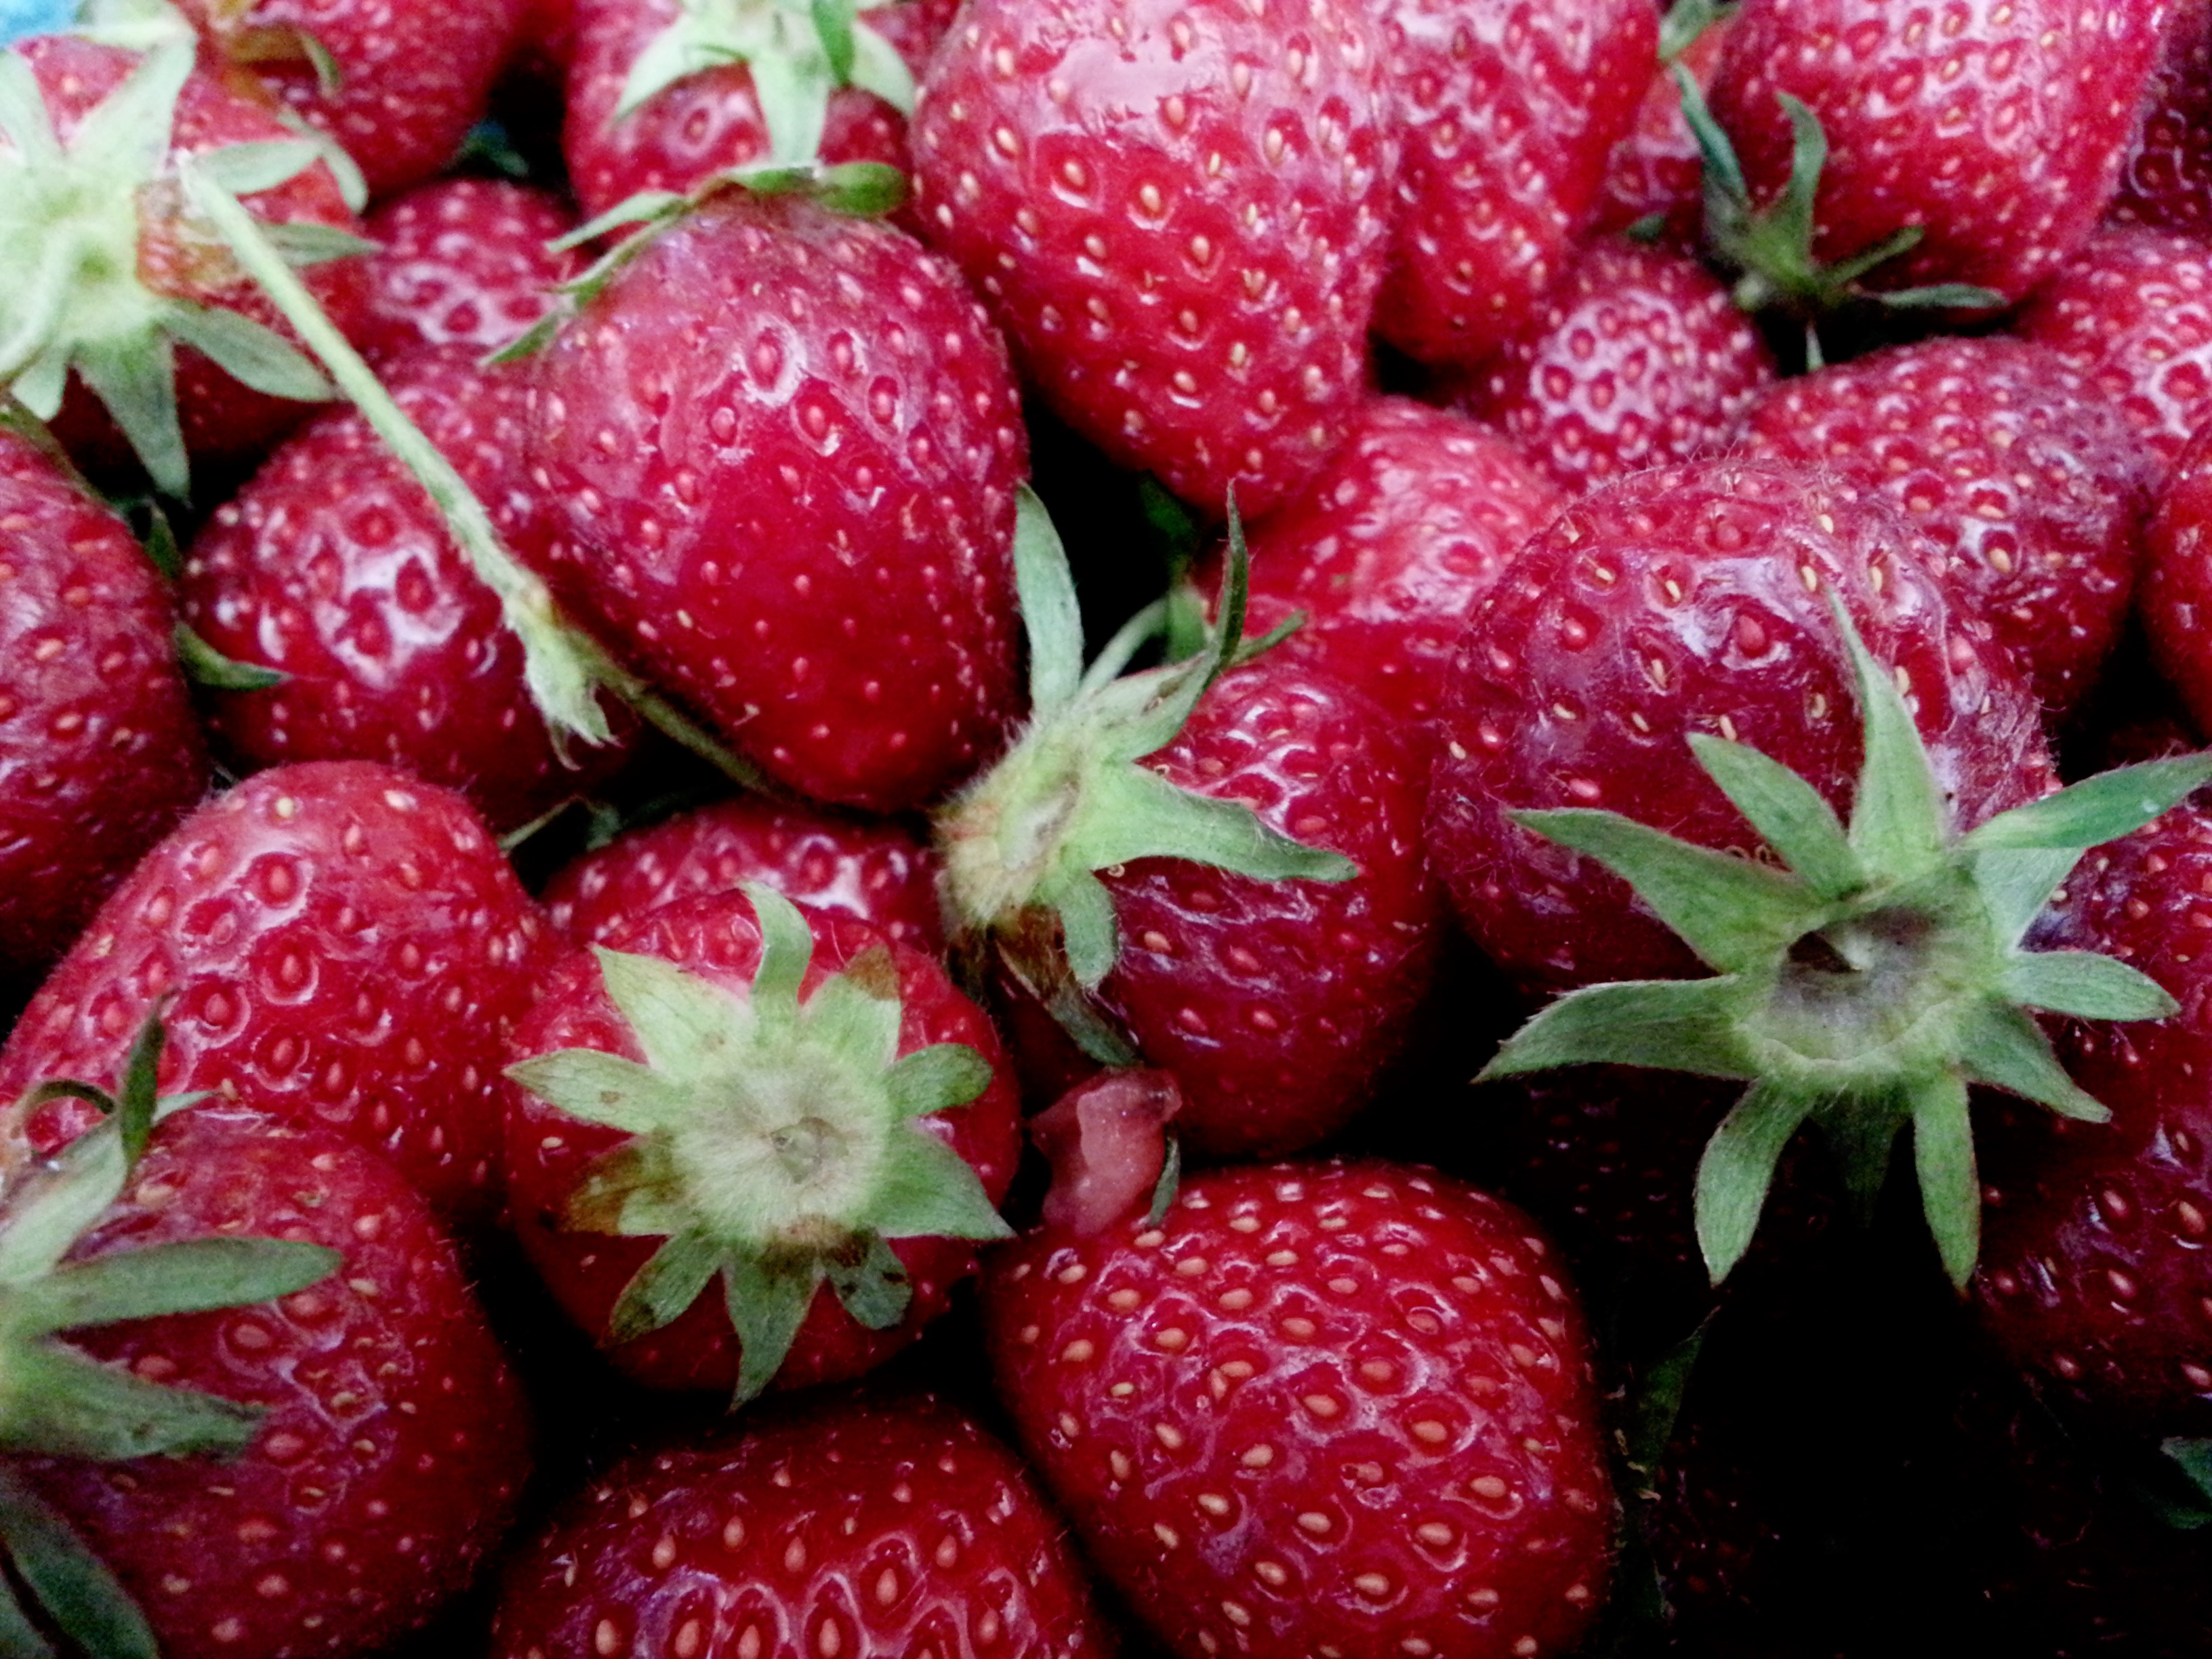
- Pick over your berries to make sure you have smaller, bruise-free berries.
- Clean and hull them and weigh them out in a non-reactive (glass or stainless steel) bowl. Add in 75% of their weight in granulated sugar – e.g. if you have 1 kg cleaned berries, you will be using 750 grams sugar. Toss the berries gently with the sugar, cover the bowl and let the berries macerate overnight. You want the sugar to dissolve in the liquid the strawberries will exude.
- The next day, the juice of 1 lemon for every quart basket of berries you have used. Drain the syrup from the berries and place it over medium heat in a heavy bottomed saucepan or Dutch oven (use some thing that is wider than it is tall, but is tall enough to accommodate the jam as it boils up.
- Let the syrup cook until it hits the jam set-point (220F). At this point, add the berries into the pot. The temperature will drop – continue to cook the preserves until they reach 220 F again. If you don’t have a thermometer, you can use a cold saucer. a spoonful placed in the freezer for 1 minute will begin to firm up when it is ready.
- Remove from the heat and continue to stir gently, and skim the foam off as it cools.
- If you are processing your jars for longer term storage, now is the time to place in your (sterilized) jars with 2 piece lids, and process in a boiling water canning bath
Latest posts by Janice (see all)
- Holiday Baking - November 21, 2016
- Esquimalt Farmers Market – November 13, 2016 - November 2, 2016
- We’re growing!!! - September 15, 2016