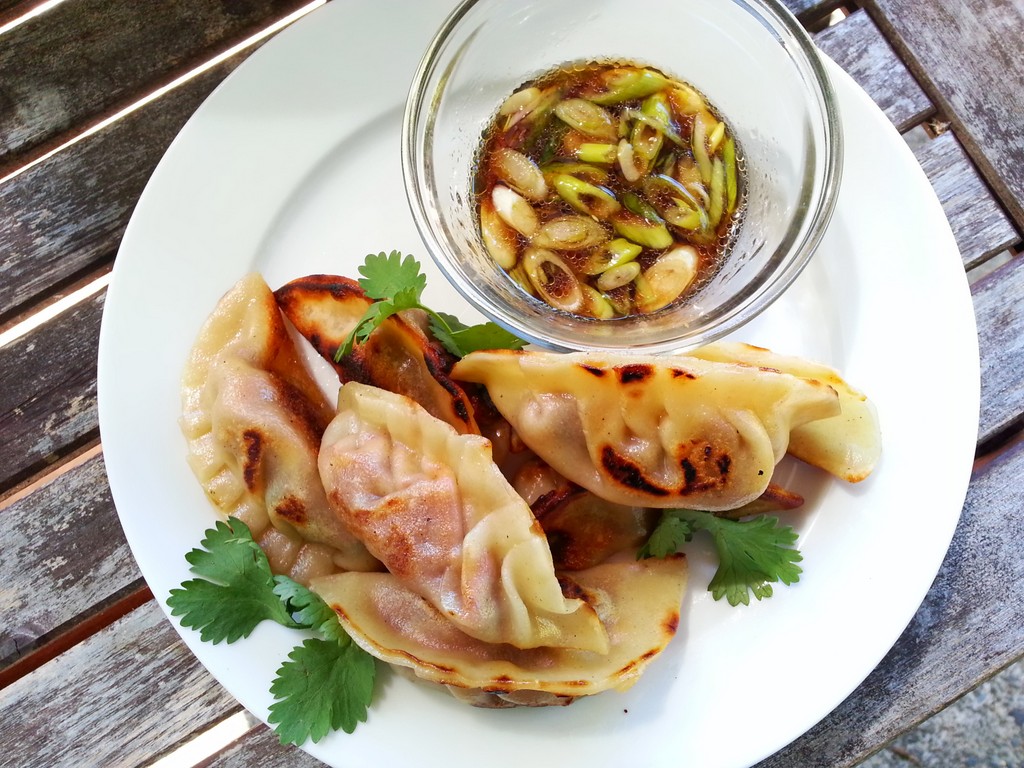
I know Gyoza is not a verb, but it should be.
Gyoza, potstickers, dumplings, mandoo, pierogi … they have various names, but they all have one thing in common. They are delicious!
The wrapper remains the same – a thin disc of dough surrounding a variety of fillings, from meat to seafood to vegetables (don’t tell anyone, but I actually used leftover fried rice to stuff these ones in the pictures!).
The problem is, all of these delicious doughs are wheat-based, and I have yet to see a suitable gluten-free option that is a decent texture. And so we’ve been experimenting here in the test kitchen to come up with something.
The main challenge with all things gluten-free is usually textural. Because the gluten-free flours don’t have the same stretch and suppleness to them that wheat doughs have, its a more complicated proposition to find a dough that you can roll out thinly enough and won’t be overly starchy. Same challenge with pasta.
Typically a gyoza maker will roll out the discs of dough with a little rolling pin, but my rolling skills (and patience) are not quite to that level, so I wanted something I could roll out in the pasta maker to a uniform thickness, and use a biscuit cutter to cut out perfect circles.
We ended up going through several iterations here before hitting on this one, which gave a great balance in terms of pliability and a good taste and decent texture once cooked up! (the starch molecules expand as they cook, so what you think is a nice thin dough, can often turn out starchy and overly chewy once cooked up!)
I’m happy to say that this particular dough behaves very well on all fronts. I found once kneaded and rested, it went through the pasta maker reasonably well. I found that setting #5 on my machine was the perfect thickness, letting me stuff and pleat the gyoza without too much fuss and bother – very much like a traditional wrapper dough. I did find that this required a bit of forethought though, as it definitely was better left overnight in the fridge. It allows everything to fully hydrate, which makes a big difference in terms of work-ability.
On the upside, I found that once cut, I was able to layer the wrappers between sheets of burger papers (yes, another burger paper hack!) and seal in a ziploc bag, and they were just fine for a few days. This means that if you are planning to do a bunch of gyoza and freeze them, you can make them in stages, getting all the wrappers ready ahead of time for a marathon gyoza stuffing session!
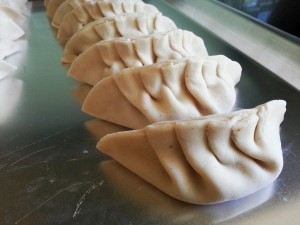
I’m not going to go into tedious detail on how to stuff these – there are lots of good instructional walkthroughs on Youtube on how to pleat these. Like anything, the first few are the hardest if you haven’t done them before, but once you get the hang of it, you can go through a lot in short order. Resist the urge to go too thin with the dough. While it will cook up just fine, it makes the pleating process significantly harder as the wrappers are much more delicate and harder to work with. I found setting no.5 on my pasta maker was perfect. Our resident engineer claimed it was about 50 thou in thickness for those of you who work with calipers ;).
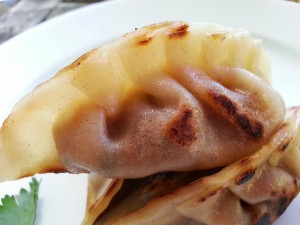
When it gets time to actually eating these tasty tidbits, you cook them exactly like any regular gyoza. Brown in a hot skillet so the sides get nicely browned and crispy, and finish with some liquid in the pan and a lid, to steam them through and cook the wrappers. Serve with your favourite dipping sauce that has a nice balance of salt+acid+sweet and some garlic or scallions. These can also be assembled in large quantities and frozen (just freeze on a sheet pan and store in a large ziploc bag). The beauty of them is they can be cooked from frozen! just add a couple of extra minutes to the steaming time to cook the insides through.

Ingredients
- 120 grams sweet rice flour
- 180 grams bread flour blend*
- 2 tsp xantham gum
- 3/8 cup hot water + 1-2 tsp as needed (90 ml)
Instructions
- Combine all the dry ingredients in a bowl and whisk well to combine.
- Add the hot water and stir the dough until it comes together, kneading with your hands at the end. ou The dough should be soft, but not overly sticky.
- Wrap the dough in plastic wrap and refrigerate overnight.
- The next day, divide the dough in 3-4 pieces and roll out thinly enough to put through your pasta maker on its widest setting. Work the dough down to approximately 1/16" thick, and cut out 4" circles using a biscuit cutter. Alternately you can roll these out by hand.
- Stack the discs between layers of burger paper or parchment, and store in a ziploc bag in the fridge if you do not intend to use immediately.
- Using your favourite filling, wrap and pleat your gyoza, and cook in a frying pan.
- Serve with dipping sauce.
Notes
*Bread flour blend: 1/2 cup brown rice flour 1/2 cup potato flour 1 cup garfava flour 1 cup sorghum flour 3 cups tapioca starch 3 cups potato starch
A final word here: if you absolutely can’t wait overnight to make you gyoza, I did find that using sorghum flour made for a stiffer, sturdier dough that was quite workable after about 1 hour. I found I preferred the taste of the recipe above, but if you want to go that route, substitute the 180 grams of bread flour blend with 90 grams of tapioca starch + 90 grams of sorghum. The dough is equally workable, but not quite as well rounded taste wise, and not quite as refined a texture.
If you end up making your own gyoza, let me know how they go! and what you end up putting in yours!
Latest posts by Janice (see all)
- A Real Food Manifesto - June 27, 2015
- Strawberry Preserves, French style - June 16, 2015
- Gluten-free All Purpose Blends: Intro - June 7, 2015


